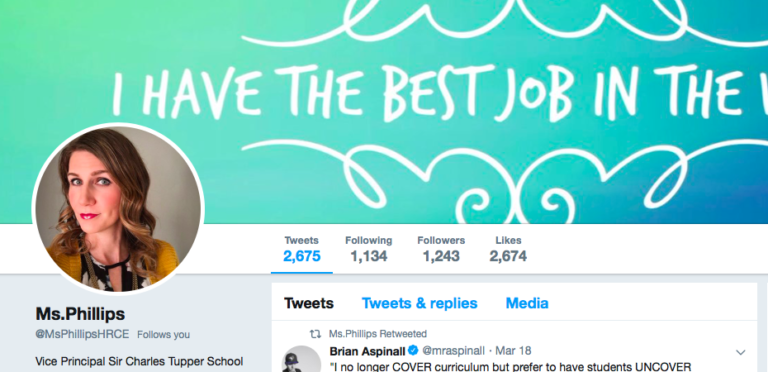
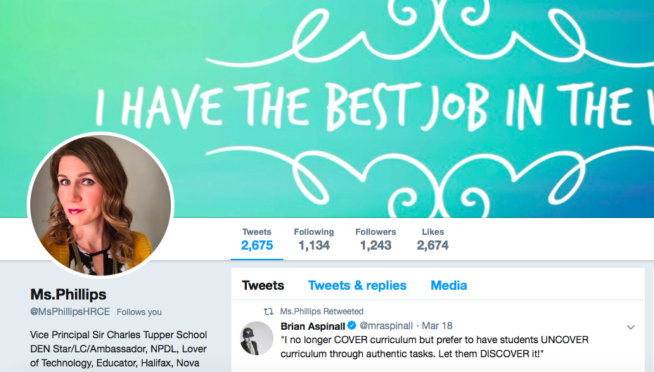
Twitter is my PLN! Really! I have been active on Twitter since 2011 adding a seperate teacher account in 2013. I have presented to teachers on Twitter 101: How to Get Started with friend and fellow teacher @MrHennigar. I have always enjoyed sharing what is happening in my classroom and seeing what is happening in classrooms around the globe. Following instructional leaders, finding ideas, books, and other educators, has become kind of an addiction, in a good way!
So I was browsing through Twitter on Valentine’s Day, what else would I be doing, married two children not like we were celebrating. When I came across Brian’s Tweet that said, “Coding 2D shapes with @scratch in grade 1. #CodeBreaker” along with a short video.
Coding 2D shapes with @scratch in grade 1. #CodeBreaker pic.twitter.com/i0pEhwHHiV
— Brian Aspinall (@mraspinall) February 14, 2019
I said to myself, “Well that’s neat, I am working on my geometry unit with my grade 3 right now.” I did what I always do when I see something that catches my eye, I screenshot it and I send myself a Twitter direct message (a tip @MrBaskwill shared with me). The next day was Friday and when I got to work I noticed the Chromebook cart was available. I decided that I could change my lesson plan and deviate from the scheduled plan. I was working on geometry after all, and this Scratch idea might just be what my grade 3s needed. I dragged the 26 Chromebooks to my classroom and decided I would do a quick little tour of Scratch with them via the LCD projector, a visual tour with them on how to code a square. I placed meter sticks on the floor in a square and asked one of my students to come up and tell me the code that would be needed to walk around the square. They easily go <move forward>, <turn right 90°>, <move forward>, <turn right 90°>… So then to challenge them a little, I placed an equilateral triangle on the floor (in the name of Papert and Brian). I wasn’t sure how this was going to go but quickly their ideas were flying. One student knew the angles inside a triangle had to add up to 180° so he did the math and knew these angles were 60°. I had a student come up and walk this on the triangle, it did not work. What were we doing wrong? Amazing how the physical act of walk and rotating allowed the students to know that they were not right. The student started turning and a student quickly yelled, “180°-60° = 120°. We need to turn 120°, the outside instead of the inside.” Done! These kids are so amazing!
At this point I have all of the students on the floor at the front of the room and I go sit down at my teacher computer using the LCD projector. I type in, “scratch.mit.edu” to show them how to get to the website that they will be using. I hit create and BAM an error message comes up on my screen. Obviously I have not been on the most recent Scratch 3.0 upgrade. So I don’t panic, I quickly switch browsers and try again, and BAM, same error. So again, these things happen but I am on the spot and I have to show my students my very best problem solving and perseverance! I decided to grab one of the Chromebooks (saying in my head, “this better work or this is going downhill fast,” but also knowing there is always a back up plan, my lesson I had planned for today that I deviated from) 26 kids at the front, patience being tested, I am trying to talk to them about what they will be doing while I focus on logging in and getting to the site as quickly as I can. I go to the Scratch site, click create and I am in! It works! Now the plan is to screencast from the Chromebook and show them a quick how-to example. I start casting as I am explaining how to drag and drop an event when a student interrupts me and says, “Your screen is frozen”. So it was. I stop casting and start again and it freezes again! As a result, I decide this will be self-guided practice time for the students. “Everyone get your Chromebook, your task is to code your sprite to draw a 2D shape. If you don’t know something, you are on a Chromebook–Google it!” I wrote the web address on the board and said,”go!” Immediately a student said they could not find the pen tool to draw the figures. Who knew they would hide such a thing on the upgrade. I didn’t know the answer, so again I challenged them to figure it out. Quickly a students found where it was hiding and it was a chain reaction.The news made its way around the classroom so fast with natural leaders emerging and showing others where to locate it. The buzz of the room was great. Now to be clear I had not done a Scratch lesson with this group before but I knew there were a couple students in the room who had a bit of experience on their own. The first shape successfully coded in the classroom was a square, quickly followed by a keen student who had a parallelogram (always pushing himself to try something beyond what is asked). The recess bell rang and no one moved. Then quickly there was a request, “Will we get to keep working on this after recess?” Once I said that we could, the students were willing to walk away from their Chromebooks (temporarily)! I took lots of videos of the students successes, constantly being asked to come see. I am really glad that we did this activity. It was a great learning opportunity for all of us, even though there were many times when “abort” was on my mind. I went home and pieced together a couple Tweets (there was too much awesome for only one) and shared.
I knew this couldn’t be a one time event. I saw real potential of where we could go. I put in a tech request to get my classroom computer fixed, and that got done very quickly. The first thing he checks for me is that I can create in scratch 3.0 and it worked! I decided to work with a few students to get them moving with Scratch, looking at basic commands and how to create a reset button. Once they were underway they were ready to code 2D shapes. The rest of the class was challenged with 4 task options: 1. Code a 2D shape with more than 5 sides, 2. Code a picture by combining 3 or more 2D shapes, 3. Code shapes with more tricky angles like a parallelogram, a trapezoid, or a rhombus, 4. Code a 3D object. This is the day I wish I had a camera set up in my classroom. Kids were buzzing with excitement, sharing what they were doing, asking for help from each other, want to show me what they had created. Problem solving, collaboration, & communication! I also heard students stress frustration but the best part of that was the “stick-to-it-iveness” that they had. Willing to work through the struggle because the success of completing what they had created in their minds was worth it. One student jumped up and shouted “It worked” when he successfully coded his shape. He was so proud of what he had done. Another student, decided that the tasks were not hard enough so he decided to code a 3D picture which combined 3D shapes and 2D shapes. This was where I realized the immense value of using this platform. Students were meeting outcomes in Math and Communication Technologies, they were showing what they knew and that they could be working on something that was a personal challenge. Some were coding 2D squares and rectangles, some were moving on to hexagons and octagons, while others created a row of houses complete with doors and windows, and 3D design was even coming in to play. Someone even figured out that they could add width to the pen to hide small imperfections, or completing a task and then trying to rewrite the code using loops to make it less steps, this was success. All 26 of my students were engaged, on task, and proud of what they were doing. To Twitter again, sharing the 3D picture–challenge accepted! I even decided that I would add a little Scratch to our Geometry Check in creating codes for three 2D shapes that would see if the kids were able to read the codes that they have been creating. Students loved seeing this on their Math check-in, I only wish we had colour printers!
Some 2D Geometry in Gr. 3 @Tupper1930 using @S4SCoding @scratch Inspired by @mraspinall @HRCE_Math #SeeWhatImLearning pic.twitter.com/CqoCe2XQrE
— Ms.Phillips (@MsPhillipsHRCE) February 16, 2019
February 22nd, @MrHennigar tweets out a thank you for the lesson idea as he was doing 2D geometry with his grade 5 class. I know I don’t deserve the credit but the more we share what we are doing the more chances it will be seen. I saw Brian’s post, maybe Jeff didn’t, maybe he did. I decided to share and he took the idea and made it his own with his class. I saw a response from Brian asking about perimeter, and I think “oh yeah, we are up for that challenge!” Let’s keep building and sharing.
This activity worked for my grade 3 class, and Jeff did it with his grade 5s imagine what the 6s could be doing with what they were doing in geometry. I shared the activity with the grade 6 teacher at my school. They were actively involved in a space unit in science and right there on the spot I thought they could use Scratch to demonstrate their knowledge of planets, rotation, angles… So I mentioned what my kids were doing, but then I shared how they could connect Science, Math, and ICT (information and communication technology) to use Scratch as a way of publishing what they know about Space. The teacher asked if I would come in and support this and of course I said yes. I went home, and started doing my homework about how we could do this. Awesome thing about Scratch is that there is such a large community of teachers using it, someone has probably already done exactly what you want to do! You can also take their code and build on it. I created a little demo before I went in to the grade 6 class, again some had never used Scratch but there were some who had. I knew they would be the go-tos for the activity. A couple minutes into the session the teacher went and grabbed a chromebook and started following along with her students. You see, we are lifelong learners, all of us. During this session, a saw leaders emerge and students helping students, we even had a student teaching their grade 6 teacher a trick, which I was lucky to see. The best part of it all was the teacher’s reaction to the help, turning her computer towards the student and asking him to show her.
Using @scratch to code 2D shapes & the perimeter in Grade 3 @Tupper1930 #SeeWhatImLearning @mraspinall @TILTHRCE @HRCE_Math pic.twitter.com/DYgaBkFjSr
— Ms.Phillips (@MsPhillipsHRCE) March 16, 2019
The last week before March break we started working on perimeter. We used straws on the floor to build shapes. We drew the shapes and then recreated them on grid paper. We made several shapes with the same perimeter. We created squares, rectangles, L-shapes, T=shapes, and cross shapes. This lead up to the last day where I said we would be using scratch to show what we know. The students we super pumped. It was clear they have continued to build on what they could do and see success. This new challenge was going to be awesome. I challenged them to create 2D shapes (Ls, Ts, Xs) and after they created them, they were to use the “looks” commands to have their sprite explain what perimeter means and what the perimeter of their shapes were using the non standard unit of steps. Challenge accepted, completed, and just WOW! To think this journey began with me scrolling through Twitter. Just shows you the power of expanding your PLN beyond your school! I dare you, try it!
Erica Phillips
Vice Principal/Grade 3 Teacher at Sir Charles Tupper School
Halifax, Nova Scotia
@MsPhillipsHRCE
Scratch Links:
Link to my Shamrock: https://scratch.mit.edu/projects/294652965/
Link to Space Demo for Grade 6: https://scratch.mit.edu/projects/290883157/
Link to Square Based Prism: https://scratch.mit.edu/projects/296183585/
 For all the kids who grow up in a small town and think they don’t stand a chance. You do. I was once that kid.